Hiển thị các bài đăng có nhãn making flowers. Hiển thị tất cả bài đăng

Thứ Ba, 27 tháng 9, 2011

Sewing patterns:Heart Felt Pillow tutorial

I had some felt that I needed to find a purpose for from my Studio 5 appearance. So I decided to make a pillow using the same technique with the folded circles. (Sorry about the bad picture, it is the best I could do…we need some sunshine around these parts).

Thứ Hai, 26 tháng 9, 2011

Recycling paper: How to Make Book Page Medallions / Rosettes

Book Page Medallion Craft

This craft is part of the 13 Days of Halloween project. Download number templates for the project, as well as the bug template for Day 3, in the tips and supplies post. Links to all of the crafts from this project can be found in the main 13 Days of Halloween post.
Medallions, rosettes, accordion fold circles … whatever you call them, they’re a neat detail that you can use as everything from ornaments to gift embellishments. I love the look of old book pages in this craft, but you can use any paper that you’d like. I would recommend a text weight paper, as opposed to cardstock, since it’s easier to bend and fold.
 Recycling paper:  How to Make Book Page Medallions / Rosettes

Book Page Medallions

Supplied Needed
a book page or pages
a ruler
a pencil
a hot glue gun
a 1″ circle or square of cardstock
glue dots or double-sided tape


Instructions
1. Cut a 1″ wide by 11 1/2″ to 12″ long strip from the book page. You may have to use multiple strips, which you can connect together using glue dots or double-sided tape. Lay the strip flat, and using a ruler and pencil, mark the edge of the paper every 1/4″.
2. Fold the paper in an accordion fold, using the pencil marks as your guide. When finished, connect the two loose ends together using glue dots or double-sided tape, forming a circular shape. Add hot glue to a 1″ circle or square of cardstock.
3. Immediately place the piece of cardstock over the center of the back side of the medallion. Hold in place (watch your fngers – that glue is hot!) for 30 seconds or so, until the glue begins to cool and the cardstock is firmly attached.
4. Add the calendar number to the front of the medallion using glue dots or double-sided tape.

Recycling paper for holiday: Awesome Paper Cone Wreath Tutorial

Today I am going to give you a very detailed, step by step tutorial on how to make this wreath.  In fact sorry if it almost feels like paper cone wreath making for dumbies, but I have had a lot of questions about this wreath so I am just trying to cover all my bases.

Flower gifts: Dahlia Felt Flowers tutorial


Flower gifts: Dahlia Felt Flowers tutorial
Gorgeous... Yes.
Cheep... Yes.
Easy... of Course!
Want to make one?
Start by cutting 3 sizes of felt squares. I cut 12 of largest, 10 of the next, and 7 of the small.


Trim your squares into petal shapes, leaving one of the large and one of the medium squares for later.
 (I just free handed it because petals aren't all the same- right?)
Cut a circle for your base (I used leftover denim, but you could use more felt or whatever.)


Fold the sides of a petal in toward the center secure to the circle with a couple stitches.


Continue all the way around keeping your petals nice and close together. (I used 11 of them.)


Start your next row by stitching the medium petals in closer to the center. Continue all the way around.
 (I used 9 petals.)


Add your smallest petals on the same way. (I had 7 around.)


Take you unused large and medium square and trim them down to circles. Then cut slits all the way around.

Stack them up (med. on large)


Stitch in the center or your flower. When you pull the stitch tight the center will pull down and all the little 'fringe' will stand up.


Wha-la! a Beautiful Felt Flower!!!
(or two or three...)


Thứ Bảy, 24 tháng 9, 2011

Gift presents: Felt Flower Ponytail Binder tutorial

My daughter wanted something red to wear in her hair on the 4th of July.  So, I dug through my bin of hair accessories and found this felt flower.  I had made a bunch of these in various colors and gave some away as Christmas gifts.

how to make this Autumn Bloom Belt.  I loved the felt flowers and used them to make Felt Flower Ponytail Binders.

I cut a 15x1 inch strip of red felt and made small slits along the entire length.  To shorten this process, I folded the felt strip in half therefore each cut made 2 slits.
Next, I put about 2 inches hot glue at a time along the strip and rolled the felt up.
I cut out a small circle of felt and placed the ponytail binder in the center of the felt roll.  Then, I put glue on either side of the binder and stuck the felt circle on.
The felt circle holds the binder in place.  Flip the flower over and fluff out the "petals".

Gift presents for daughter: Leather and Felted Wool Hydrangea Hair Elastics tutorial


Gift presents for daughter: Leather and Felted Wool Hydrangea Hair Elastics tutorial

Spring is just around the corner (please, pretty please) so now is the time to start making things with flowers!  I made some hair elastics out of leather and felted wool. 
Today I will show you how to make the leather hydrangea flower.
Supplies:
Leather
Scissors
Sharpie
Circle to trace
Hot Glue Gun
Hair Elastic
Find a piece of leather in the color of your choice.  My is black leather from a coat from my stash.
Choose a circle shape to trace.  I chose a thread spool that is slightly bigger than the standard spool.  The size of the circle will determine the size of your petals.  For the felted wool flowers in the picture above, I used a much bigger circle.
Trace 10 circles onto the leather with your sharpie (even though photo only shows 8circles).  I traced on the backside so the sharpie would show up.
Cut out the 10 circles.
Fold each circle in half to make a taco shape. You can put a dab of hot glue to hold the petal shapes if that is the look you are going for.  I glued the petals on this leather flower but did not on the felted wool ones.
Then, fold in half again to make the petal shape.
Put hot glue along the bottom of the folded circle.  There should be 2 folded edges, on the bottom, to glue.  Stick it to one of the circles, for a base, with the front edge slightly hanging off the end.
For the next petal, flip the folded circle and put glue along the single folded edge.  Stick this petal next to the on already on the base.
Continue to glue 6 petals onto the base, switching each time from the 2 folded edges to the single folded edge.
Next, glue 3 folded circles into the center of the base.
Trim away the leather between the petals.
Cut 1 small rectangle of leather and put hot glue at each end.  Center the hair elastic and place the leather strip over it.
After letting the glue dry, the hydrangea flower is ready to use.  You can make these elegant flowers out of felted wool or other fabrics too.  There are many other things you could use the flower for besides hair.

Thứ Sáu, 23 tháng 9, 2011

Art and easy crafts for kids: Crayon Art & Crepe Paper Flowers - a tutorial

If you're on Pinterest, there's a really good chance you've seen these melted crayon works of art.

Art and easy crafts for kids: Crayon Art & Crepe Paper Flowers - a tutorial
The boys and I made our pictures before I bought the frames.  I would suggest buying the frames first, so you know just how far the crayons need to be from the edges to fit in the frames.  I had to do some serious sanding on my frame, and the boys could have added another crayon to their pictures.

We were so excited to try this, that I forgot to take pictures (again!), but it's really easy.
What you'll need:
Canvas
Crayons (enough to cover 1 edge of your canvas)
Elmer's Glue
Blow Dryer and/or Space Heater
Wax Paper or newspaper
Small jar

1.  Put your canvas in your frame.  Use painter's tape to mark the edges of the frame on your canvas. 

2.  Take the canvas out of the frame & using more painter's tape, meet the edges of Step 1's tape.


3.  Remove the tape from Step 1.  You now know where you can put your crayons.

4.  Pick out your crayons.  We used 21 crayons for ours.  It was the perfect number for my frame, but we probably could have squeezed in a 22nd crayon for the boys.

5. On your work surface, line up your crayons the way you want them on your canvas.  Then, start applying the glue to your canvas, and add your crayons.

6.  Introduce your kids to some of your favorite big band songs, and dance around with them while waiting for the glue to dry.  It doesn't take long, about 10-15 minutes.

7.  Lay down some newspaper (we used a hand towel with some waxed paper on top), and prop the crayon side of your canvas up on your short jar.  With your space heater and/or blow dryer (make sure you have it on your lowest setting so it doesn't splatter the wax), start melting your crayons.

8.  Once the crayons start melting, you'll want to stand the canvas up more.  We did ours on the floor, so we just propped them up against the wall.

From left to right: Mine (when I did mine, I just had my canvas propped up on the jar, which gave me fatter drips), Awesome's (he picked his colors by how he wanted to see them mix, then wanted it hung horizontally to look like a machine gun!), and Bug's.

Now for the Crepe Paper Flowers

What you need:
Crepe Paper/Streamers
Glue
Scissors


Oops!  No Picture!
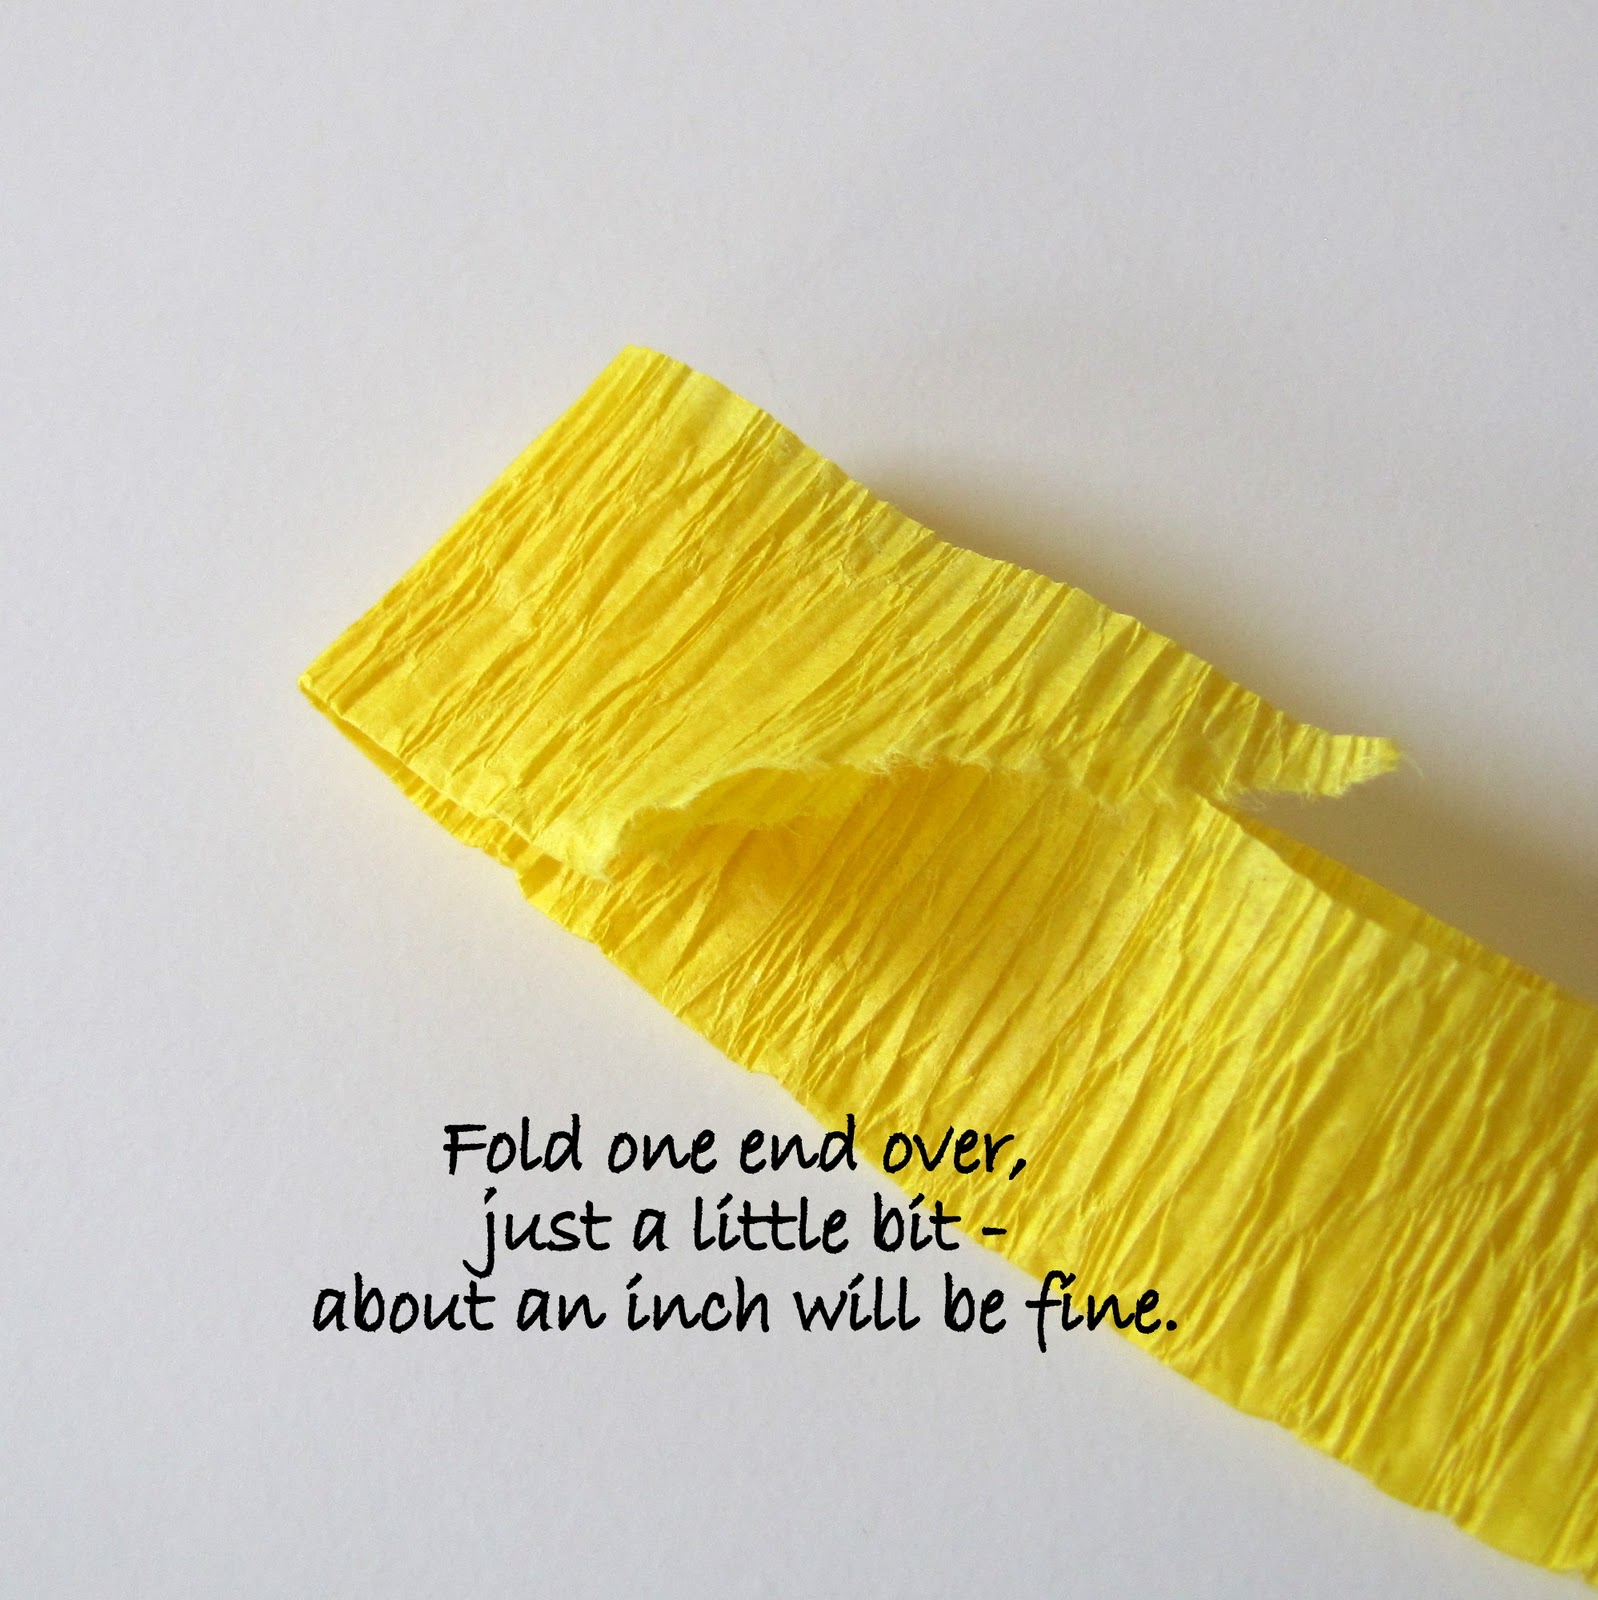
Stick your flower onto the glued area, then cut away the excess.