Hiển thị các bài đăng có nhãn Gifts. Hiển thị tất cả bài đăng

Thứ Hai, 26 tháng 9, 2011

Unique crafts: IY - "Perler Beads"? $0 Guarantee! with straws

up.  Make your own faux Perler Beads!  Zero cost guarantee but ... 100% quality and satisfatory...that's will depends how 'open minded' you are to my 'new idea'!

A sample of my 'creation'...it suppose to spell " i  u" but it sort of out of shape at the end...Well, I'm not a perfectionist anyway.  Just want to share with you all the 'idea',  the 'result' will be perfect if I have more patience...

Thứ Sáu, 23 tháng 9, 2011

Art and easy crafts for kids: Crayon Art & Crepe Paper Flowers - a tutorial

If you're on Pinterest, there's a really good chance you've seen these melted crayon works of art.

Art and easy crafts for kids: Crayon Art & Crepe Paper Flowers - a tutorial
The boys and I made our pictures before I bought the frames.  I would suggest buying the frames first, so you know just how far the crayons need to be from the edges to fit in the frames.  I had to do some serious sanding on my frame, and the boys could have added another crayon to their pictures.

We were so excited to try this, that I forgot to take pictures (again!), but it's really easy.
What you'll need:
Canvas
Crayons (enough to cover 1 edge of your canvas)
Elmer's Glue
Blow Dryer and/or Space Heater
Wax Paper or newspaper
Small jar

1.  Put your canvas in your frame.  Use painter's tape to mark the edges of the frame on your canvas. 

2.  Take the canvas out of the frame & using more painter's tape, meet the edges of Step 1's tape.


3.  Remove the tape from Step 1.  You now know where you can put your crayons.

4.  Pick out your crayons.  We used 21 crayons for ours.  It was the perfect number for my frame, but we probably could have squeezed in a 22nd crayon for the boys.

5. On your work surface, line up your crayons the way you want them on your canvas.  Then, start applying the glue to your canvas, and add your crayons.

6.  Introduce your kids to some of your favorite big band songs, and dance around with them while waiting for the glue to dry.  It doesn't take long, about 10-15 minutes.

7.  Lay down some newspaper (we used a hand towel with some waxed paper on top), and prop the crayon side of your canvas up on your short jar.  With your space heater and/or blow dryer (make sure you have it on your lowest setting so it doesn't splatter the wax), start melting your crayons.

8.  Once the crayons start melting, you'll want to stand the canvas up more.  We did ours on the floor, so we just propped them up against the wall.

From left to right: Mine (when I did mine, I just had my canvas propped up on the jar, which gave me fatter drips), Awesome's (he picked his colors by how he wanted to see them mix, then wanted it hung horizontally to look like a machine gun!), and Bug's.

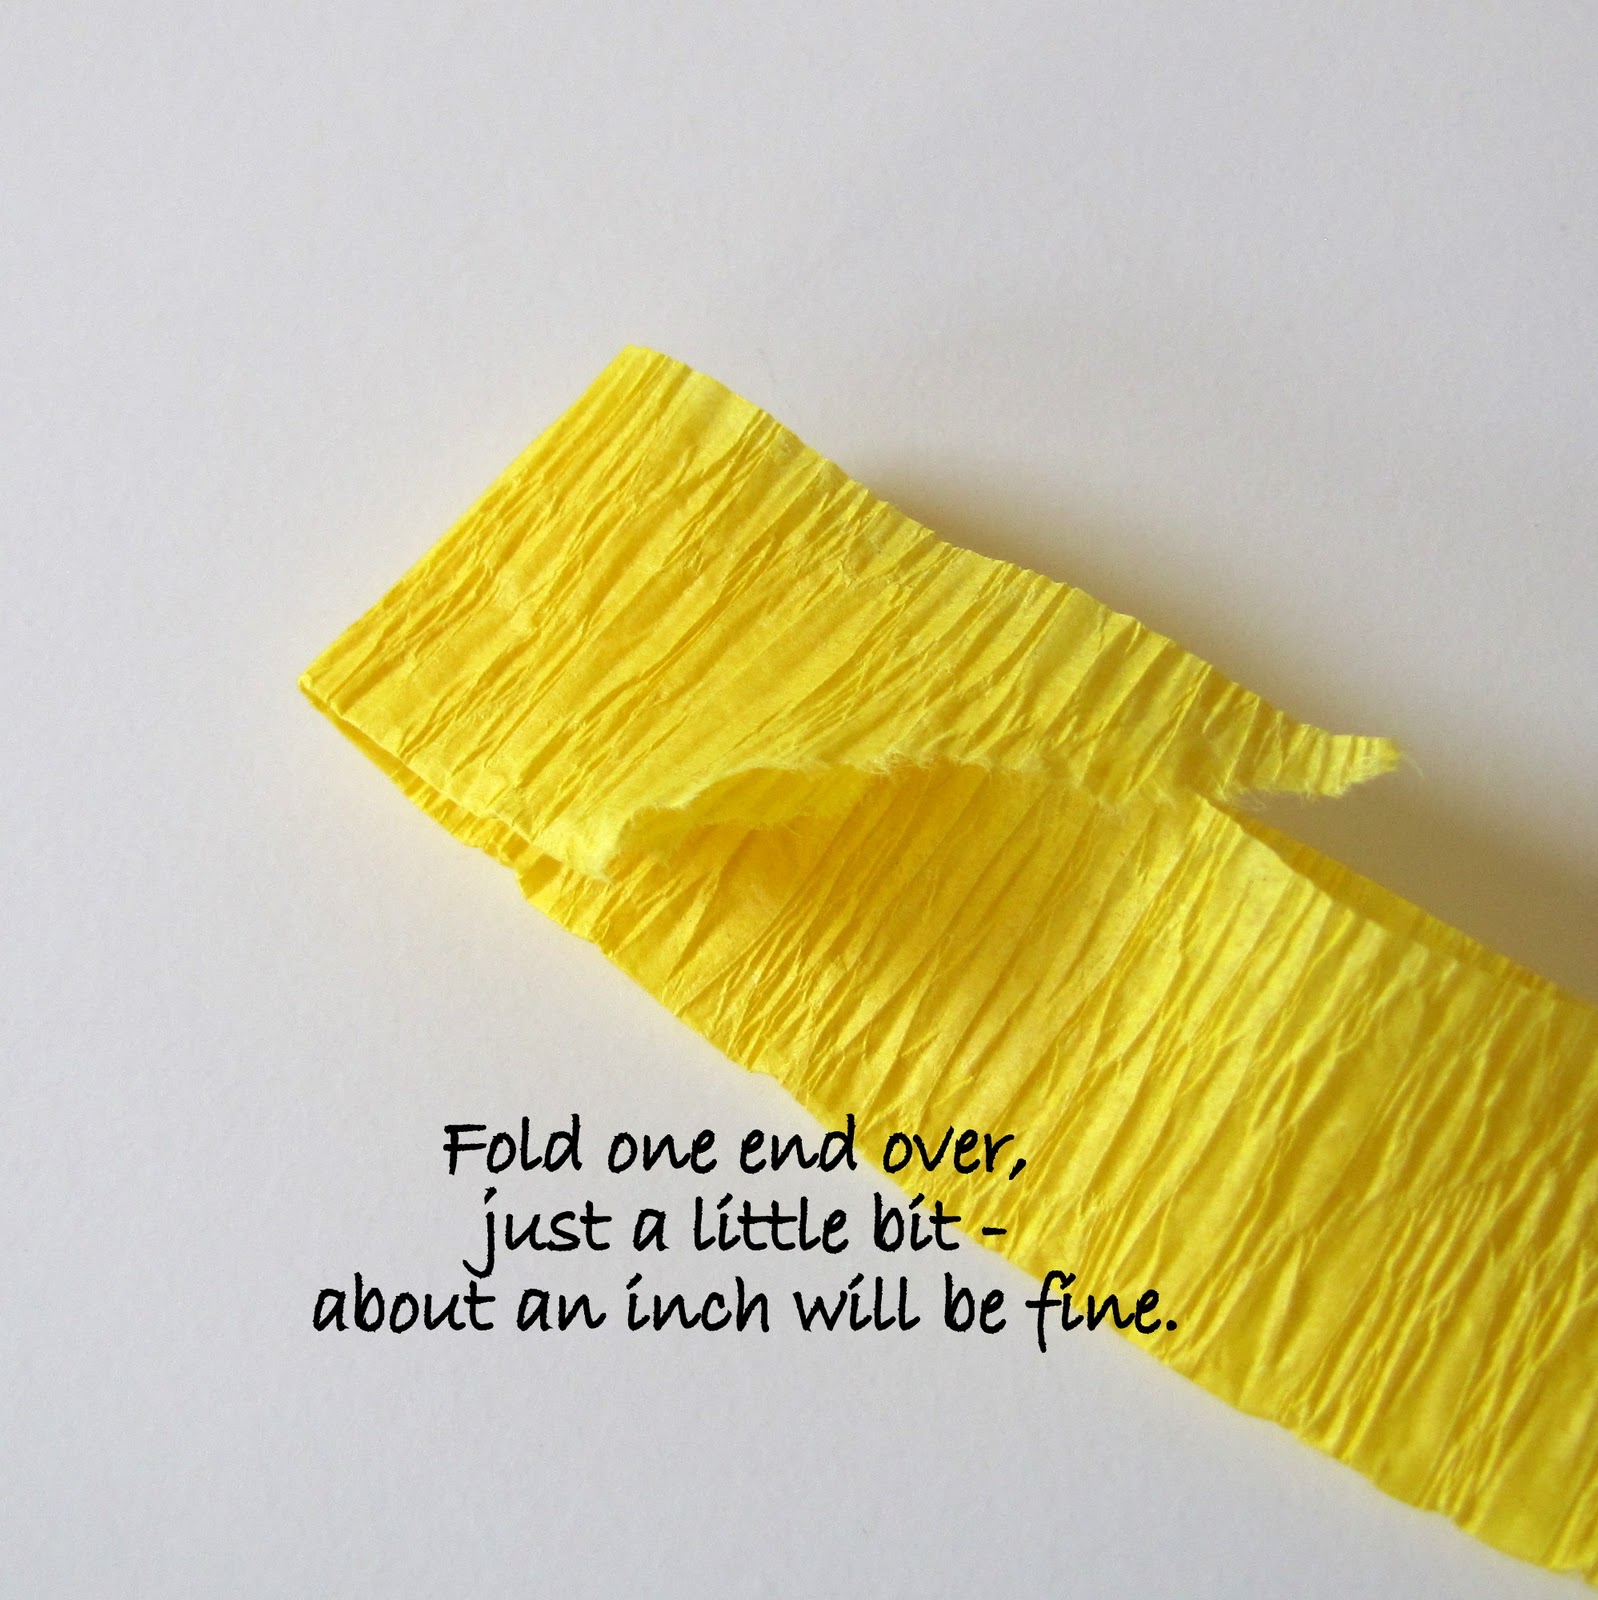
Now for the Crepe Paper Flowers

What you need:
Crepe Paper/Streamers
Glue
Scissors


Oops!  No Picture!
Stick your flower onto the glued area, then cut away the excess.


Thứ Năm, 22 tháng 9, 2011

Unique Gifts: Sewing Projects, Valentine Bookmarks

If you are looking for some kids sewing projects for Valentine's Day, then you might want to try these fun paper clip bookmarks! These cute Valentine bookmarks would make a nice gift idea for all of their friends and they are also very inexpensive bookmarks to make because you only need some paper clips and some felt. So if your kids like to sew, then this could be a great Valentine project for them.

kids sewing projects 
Unique Gifts: Sewing Projects,  Valentine Bookmarks
Materials
  • Large paper clips
  • Felt
  • Embroidery thread
  • Scissors
  • Needle
  • Small beads (optional)

Instructions


Print and cut out the heart template, and then trace and cut out your pieces of felt. Cut two hearts for each bookmark you want to make.


Sew the paper clip onto the back of one of the hearts. See photo A.

kids sewing projects kids sewing projects


Now turn the heart over. Don't worry about the stitches showing on the front, because they will be hidden under the flower and leaves. Sew the leaves on using thebackstitch. Be sure to stitch down the very center of each leaf. See photo B.


Sew the flower on using a French knot in the center. Or you could sew it on using a small bead instead. See photo C.

kids sewing projects kids sewing projects


Next, sew the front heart to the back heart using the running stitch. To sew along the bottom, just lift up the edges of the leaves and sew underneath. See photo D.


Your Valentine bookmarks are now finished and ready to give to your friends!

kids sewing projects
We hope you enjoyed this sewing craft for bookmarks to make for Valentine's Day! And for more homemade Valentine ideas

Unique gifts for lover and Valentine: Heart tea bags tutorial

For those tea nostalgic that wish to add a touch of loving in your teacup, Design Sponge brings you these little handmade heart-shaped bags that can be filled with your chosen tea.
If you can not wait for the weekend to create your own, do not miss the tutorial along with two other types of bag to enjoy in your privacy or simply to surprise someone.
Heart tea bags

This is unique gifts for lover

Thứ Tư, 21 tháng 9, 2011

Paper crafts for kids: MAKE YOUR OWN ENVELOPES, origami tutorial

Paper crafts for kids: MAKE YOUR OWN ENVELOPES, origami tutorial

You will need:
An existing envelope, (any shape and size you wish).
Your favourite HB pencil
Coloured card, (you could have each one a different colour if you like).
An inlay sheet, printed from the downloadable template
Spray glue, double-sided tape and scissors.
Step 1: Firstly gently undo the glued sides of an existing envelope, careful not to tear them and cause too much damage. Lay the template flat on to some coloured card of your choosing and trace around the shape with a  pencil then cut out.
Step 2 + Step 3:
Carefully fold in the bottom and two side corner flaps of your new envelope to give it the basic shape. Leave the top one flat as this will be easier to trace when placed onto your inlay paper. With a pencil trace around your envelope shell onto your downloaded inlay paper and cutout. You will now have the exact size of the outer side of the envelope. This is not ideal as it will be too snug when the sides of the envelope are folded in so the inlay needs to be trimmed.
Step 4:
With a pencil and ruler mark about a 3 mm border from the edge at small increments all the way around the inlay. Then with a pair of scissors carefully follow the guide you have made and cut off the 3mm border.   Trim any rounded corners to neaten.
Step 5:
Place the inlay against the base of the envelope and check if you are happy with the size and border/rim shown by the envelope. Spray glue and return to the envelope, centering the inlay by lining it up with the bottom fold of the envelope. For a smooth and solid finish run your hand over it to eliminate any bubbles that could appear left between the inlay and the envelope.
Step 6:
Gently fold all the sides of the envelope back together again including the top flap and make sure you get a clear, crisp fold on all the edges. Use your double-sided tape to stick town the sides with the bottom flap.
Step 7:
With some white ink and a calligraphy pen, write your desired address and adorn with some pretty stamps and whatever else you like and it’s ready to go.
Cute aren’t they?!  I love how you could really personalise the liner to match your day!  How about using old comic book pages for a quirky retro wedding? Or maps for a travel themed celebration?  You could use old book or newspaper pages for a literary-inspired invite, or if you’re not worried about fraying edges how about trying it out with fabric?  What would you use to match your wedding?!

Paper crafts: fun favour boxes fubumedia

Paper crafts: fun favour boxes fubumedia
Hey lovely people! You know it’s Thursday right?  Yup, that means we’re back with another cracking DIY project for you today! Woop!
The lovely Fanni over at Fubumedia has been beavering away on this fun little idea to share with us today.  A cute and unique favour box, just big enough to squeeze a couple of your favourite treats into as a delicious thank you for your guests.
 As with all our projects, it’s pretty simple, all you need to do is print the free templates, and get sticking!

You will need:
1 x favour box template
1 x thank-you flag template
2 x sheets A4 card (you could use complimentary colours to add an extra bit of pizzazz when your guests open the box!)
A pair of sharp scissors
Pencil
Cocktail sticks or toothpicks
Ribbon to coordinate with your wedding colours
Method:
Dowload and print the templates, and cut out the favour box template.  Glue the two pieces of card back-to-back and then cut out the box shape using the template
Once you have the shape, fold all the little strips inwards, place your favours in the middle, and pinch all the strips together at the top before securing with a little bit of tape.  Cover the tape by tieing a pretty piece of ribbon in your wedding colours
Cut out the ‘thank-you’ banners, snipping one end in a ‘v’ shape to make a flag.  Roll the other end around a cocktail stick an secure with a bit of tape.  Gently push your flag into the top of your box…
and voila!  Cute little DIY favour boxes that your guests will love!

Unique cards for kids: Printable Monkey Tags and cards


etiqueta 01   
Unique cards for kids: Printable Monkey Tags and cards

etiqueta 02
Paper crafts monkey garland  for holiday and birthday for kids

tags 03
Add an Imagemonkey tags para imprimir
Just save the inage as with the right button of your mouse to your computer

Gifts for lover and Valentine : Yarn Hearts tutorial


Hearts made from rustic floral wire are wrapped with yarn and hung in the window for Valentine's Day.


To make these you will need: rustic floral wire (available in the floral section of any craft store - it's like wire wrapped in craft paper), wire cutters, yarn and scissors.
Clip off a length of floral wire and bend into a heart shape; twisting the ends together to secure.
Tie yarn onto heart.
Pull yarn across heart, wrap around wire and pull yarn across to the other side.
Wrap yarn securely so there is no slack.
Tie a knot and cut yarn with enough length for hanging.
You could also tuck a note inside and give it as a valentine.